Functional Testing TextEdit application on Mac OS X
You can use App Test to test various GUI functionalities of Windows/Java/MacOs applications. In particular, App Test helps you record GUI interactions in your applications and lets you replay them and automatically validates your expected test conditions.
The following tutorial shows you how you could use AppTest to test TextEdit application.
Before you proceed with the tutorial, please complete the following steps.
- Install App Test from http://www.appperfect.com/download/index.php
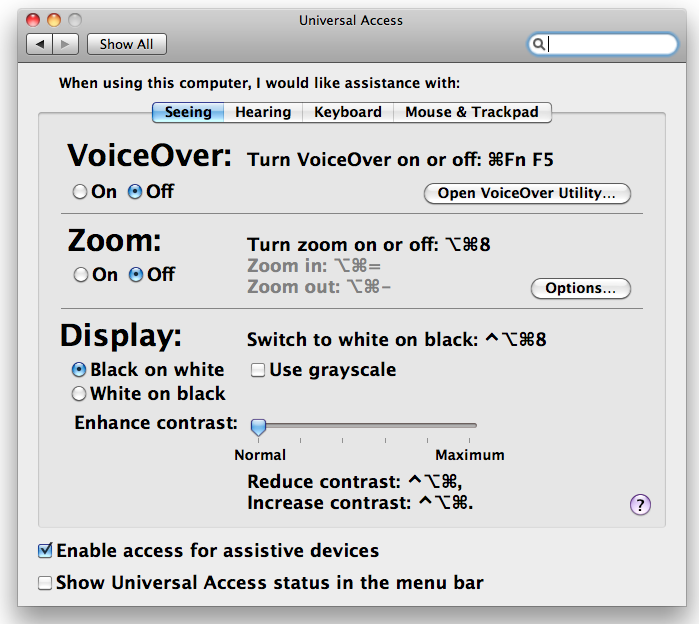
- App Test requires 'access for assistive devices' turned on. To do this go to 'System Preferences ...' from your Apple menu (on the left top corner of your screen). Click on 'Universal Access' and make sure 'Enable access for assistive devices' is checked as shown below.
Start App Test. If you are using App Test for the first time, you will be asked to complete App Test software's licensing requirements.
Creating a Project
- Launch the Define New Project Dialog by clicking File ->New... menu option. The New Project wizard will be launched.
- Keep the default project name and location for the purpose of this exercise. We don't have to provide "Notification" settings. Click on the OK button.
- A confirmation message saying that the project is saved will be displayed. Click on the OK button.
Once the common project is successfully created another dialog - Define Project Properties dialog - will be displayed. The dialog shows various options which can be configured for the project, leave them default and click on OK button.
Click through all the menu items to familiarize yourself with the available features and how to access them. Viewing through all menu items will give a reasonable overview of the application.
Click Help -> Table of Contents menu item to see AppPerfect App Test product documentation.
Open the Preferences dialog by selecting the menu option Tools -> Options...
Review the default settings for App Test and click the OK button to close the dialog.
Recording a Test
Please follow the steps below:
- To start recording, click on Project -> Record test... in the menu bar.'
- 'AppPerfect Recorder' dialog will be displayed. Select ActionGroup1 from the Group combo and provide proper executable path as "/Developer/Platforms/iPhoneSimulator.platform/Developer/Applications/iPhone Simulator.app/Contents/MacOS/iPhone Simulator" depending on the path on your machine. Now Click on 'Start recording' button.
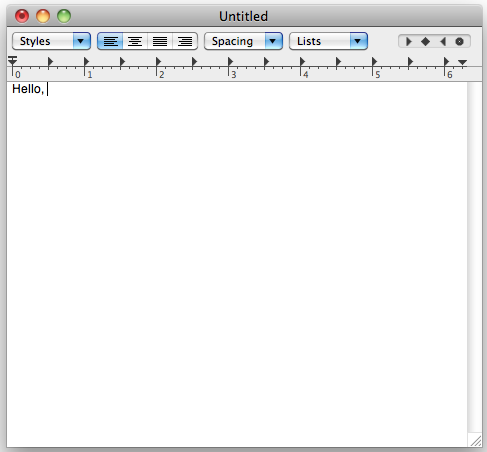
- An instance of TextEdit Application will be launched.
- Type text "Hello" in the edit box of TextEdit.
- Click on the menu "TextEdit -> About TextEdit", click on the close button.
- Type text ", to AppPerfect App Test" after "Hello" in the edit box.
- Now click after ", " and type "Welcome" in the edit box.
- Close TextEdit application using menu "TextEdit -> Quit TextEdit". A dialog box will be shown asking you whether to save your text. Click "Don't Save".
- Click on the Stop button of "AppPerfect Recorder" dialog to stop the recording session.
- Click on Close button to close the 'AppPerfect Recorder' dialog.
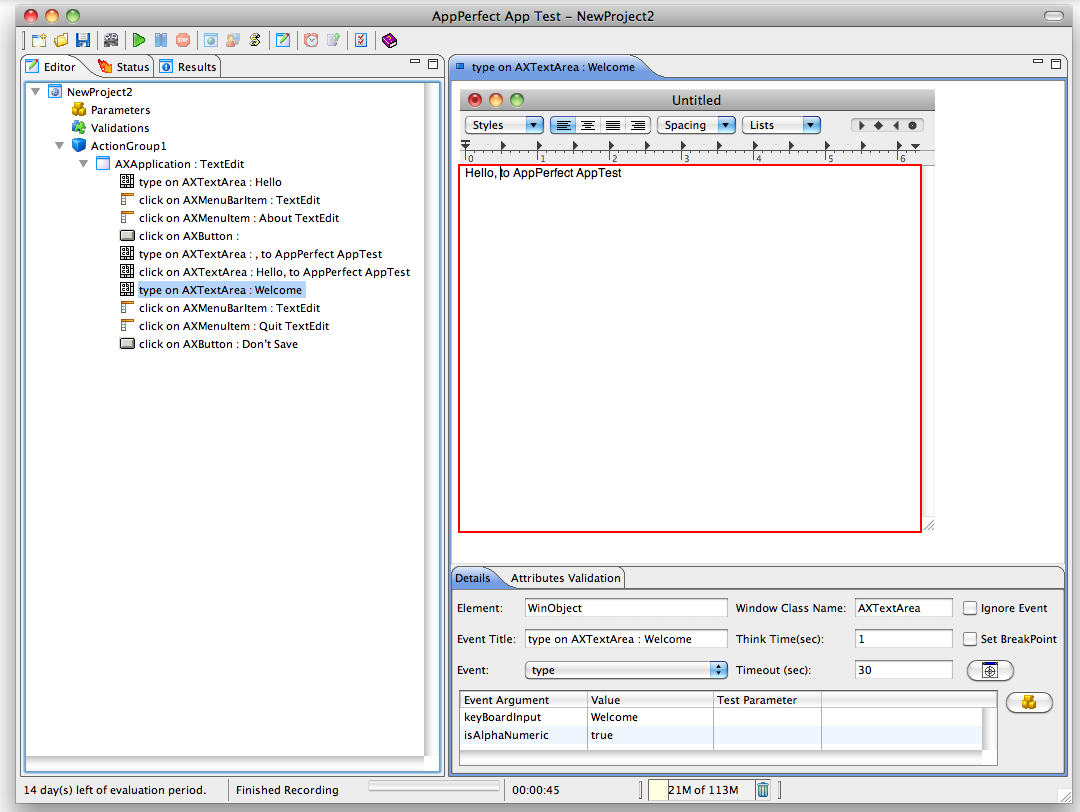
- In the AppPerfect App Test window, look at the tree on the left. Each action you performed has been recorded.
- Click on any of the recorded action on the left. The image of the window associated with that action is displayed on right hand frame. You can also find element/event details and recorded window properties/attributes there.
Recorded actions can be viewed from the editor, as shown below.
Replaying a test
- To start replay of the recorded test, click on Project -> Run from the menu bar.
- An instance of 'iOS Simulator' will be launched and each of the recorded events is replayed. No manual intervention is required during test replay, unless an error is encountered.
Viewing and analyzing results
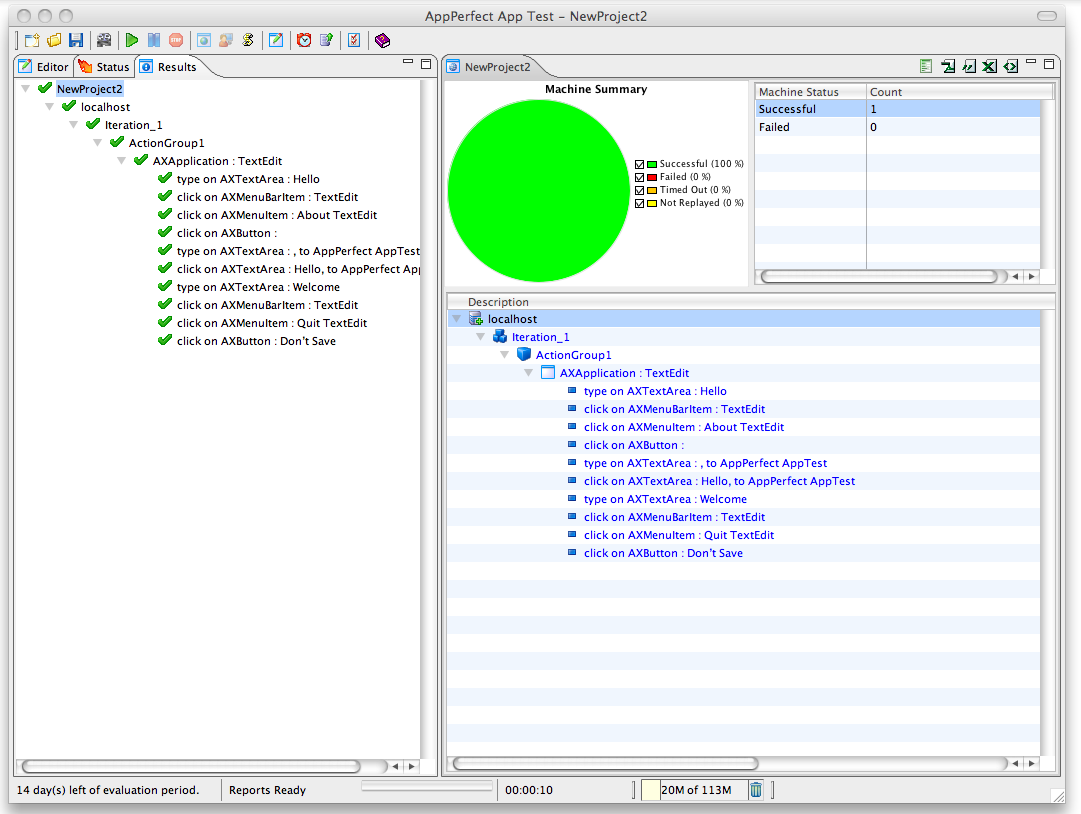
- After replay, results are displayed in Results tab located at the top left of the window.
- Click on Results tab. Test results details are displayed on the right. Click on individual items in the tree on the left to view details on specific actions.
- Browse and examine the different views that are displayed on selecting the various nodes in the navigation tree.
- Select the Action Group node. This report gives a summary of the successful, failed, timed-out & not played Events & Windows.